
In today’s digital age, the average household is drowning in an ever-growing sea of data. From high-resolution family photos and 4K videos to important documents and digital memories, storage needs are expanding exponentially. While cloud services offer convenience, they come with monthly fees and privacy concerns, and external hard drives scatter data across multiple devices. Enter Network Attached Storage (NAS) – a sophisticated yet user-friendly solution that’s revolutionizing home data management. A NAS storage for home serves as your personal data hub, offering expandable storage capacity, enhanced security, and seamless media streaming capabilities. Whether you’re a photography enthusiast, a movie collector, or simply someone who values an organized digital life, this guide will walk you through setting up an expandable NAS system that grows with your needs. We’ll cover everything from selecting the right device to optimizing your setup for maximum performance and security.
Why Home NAS Storage Solves Modern Digital Challenges
A home NAS system offers a compelling solution to today’s digital storage challenges by creating a centralized data hub accessible to all household devices. Unlike external hard drives scattered across drawers and desks, NAS provides a single, organized location for all your files. When comparing long-term costs, a one-time NAS investment often proves more economical than paying monthly cloud storage fees, especially for households with extensive media collections. The ability to stream media directly from your NAS to any device eliminates the need for multiple copies of files across different devices, while maintaining high-quality playback without internet bandwidth constraints. Perhaps most importantly, NAS systems put you in complete control of your data security. Rather than trusting third-party cloud services with sensitive information, you can implement custom security protocols and access controls. The expandable nature of NAS storage means you can start with a modest setup and gradually increase capacity by adding or upgrading drives, making it a future-proof investment that adapts to your growing storage needs without requiring a complete system replacement.

Choosing Your NAS Device: Key Features for Home Use
Understanding Expandable Storage Capabilities
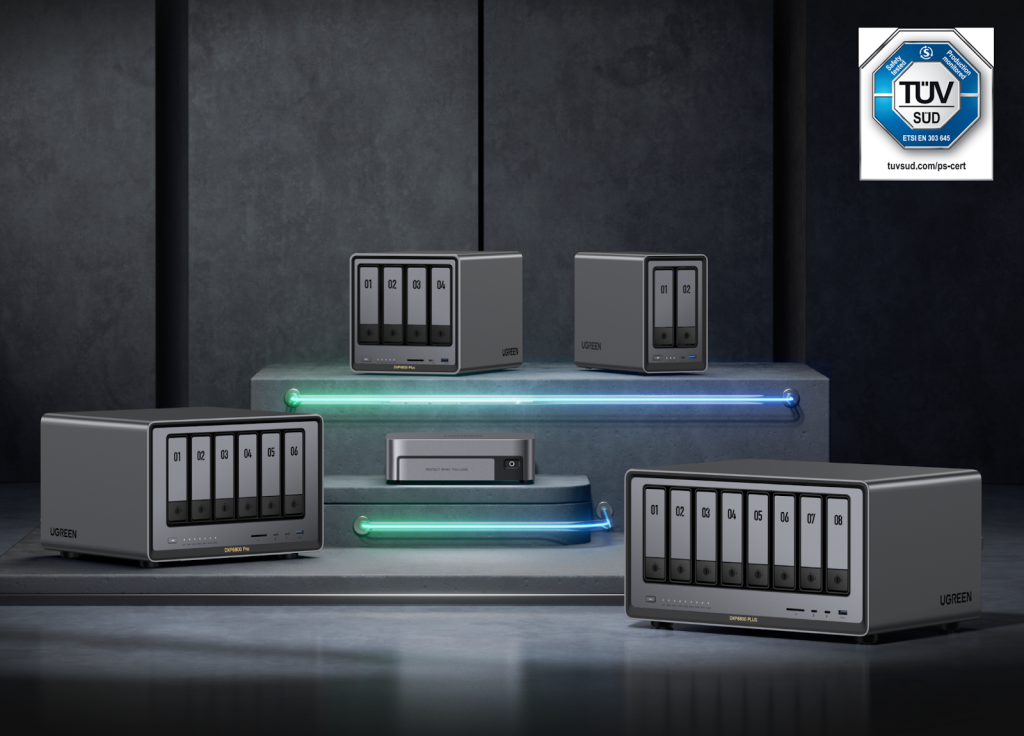
When selecting a NAS device for home use, drive bay configuration is a crucial consideration. Entry-level systems typically start with 2-bay options, while more advanced users might opt for 4-bay or 8-bay units to maximize expansion potential. Hot-swappable drive support allows you to add or replace drives without powering down the system, ensuring continuous data availability. Most modern NAS devices support various RAID configurations, from basic RAID 1 mirroring to more sophisticated RAID 5 or 6 arrays, providing flexibility as your storage needs grow. For example, UGREEN NAS solutions offer exceptional flexibility with their modular design and support for multiple RAID configurations, making them particularly suitable for users looking to future-proof their setup. When planning your investment, consider a NAS with more bays than currently needed to accommodate future expansion.

Step-by-Step NAS Setup Guide
Hardware Installation Essentials
Begin your NAS setup by carefully installing drives into their respective bays, ensuring proper alignment with the mounting brackets and secure connection to the backplane. For optimal performance, connect your NAS directly to your router using a Cat6 Ethernet cable, though some models offer WiFi as a backup option. Position your NAS in a well-ventilated area, ideally in a cool, dust-free environment. Consider connecting through a UPS (Uninterruptible Power Supply) to protect against power fluctuations and enable safe shutdown during outages.
Initial Configuration Walkthrough
After powering on your NAS, locate its IP address through your router’s interface or using the manufacturer’s discovery tool. Access the web-based admin interface by entering this IP address in your browser. Create a strong administrator account with a complex password and enable two-factor authentication if available. Configure network settings by setting a static IP address to ensure consistent access, and adjust jumbo frames if your network supports it. During drive formatting, choose the appropriate file system (typically Btrfs or ext4) based on your needs for snapshots and data integrity. Set up SMTP settings for system notifications, and configure NTP servers for accurate time synchronization. If using multiple drives, select and initialize your preferred RAID configuration, understanding that this process may take several hours to complete.
Building Your Personal Media Library
Creating a robust media library on your NAS begins with choosing the right media server software. While Plex offers a polished, Netflix-like experience, Emby provides greater customization options for tech-savvy users. After installing your preferred media server, configure automatic scanning of designated folders to detect new content. Enable automatic metadata fetching to populate your library with movie posters, show descriptions, and cast information. For optimal organization, structure your media folders following recommended naming conventions – separate directories for movies, TV shows, and music, with consistent file naming patterns. Set up remote access by configuring port forwarding on your router and enabling secure HTTPS connections. Create individual user profiles for family members, allowing personalized watch histories and content restrictions for children. Fine-tune transcoding settings based on your devices’ capabilities and network bandwidth to ensure smooth playback across all platforms. Consider enabling hardware transcoding if your NAS supports it, significantly improving performance when streaming to multiple devices simultaneously.
Expanding NAS Storage Capacity
Expanding your NAS storage capacity requires careful planning and execution to maintain data integrity. When adding new drives, utilize your NAS system’s storage pool management interface to integrate additional capacity without disrupting existing data. For optimal results, add drives of equal or larger capacity than your existing ones. Modern NAS systems support seamless RAID migration, allowing you to transition from basic RAID configurations like RAID 1 to more advanced setups like RAID 5 or 6 as you add drives. Before initiating any expansion, use your NAS’s built-in capacity planning tools to simulate different RAID configurations and understand the resulting usable storage space. Monitor drive health through S.M.A.R.T. statistics and set up notifications for potential drive failures. When expanding, consider implementing SSD cache drives to maintain performance as your storage grows. If migrating to a larger RAID array, ensure you have adequate backup before starting, as the process can take several hours or even days depending on data volume. Most importantly, maintain at least 20% free space across your volumes to ensure optimal performance and provide a buffer for future growth.
Security and Backup Protocols for Home NAS
Implementing robust security and backup measures is crucial for protecting your valuable data on a home NAS system. Start by establishing a clear user permission hierarchy, creating separate accounts for family members with customized access levels to sensitive folders. Enable encryption at both the volume and network transmission levels, utilizing AES-256 encryption for stored data and SSL/TLS protocols for remote access. Set up automated cloud backups for critical data following the 3-2-1 backup strategy: maintain three copies of important files, store backups on two different media types, and keep one copy off-site. Configure your NAS to automatically sync selected folders to cloud services like Backblaze B2 or Amazon S3 for off-site redundancy. Implement regular snapshot scheduling to protect against accidental deletions or ransomware attacks, with retention policies that balance protection with storage efficiency. Enable intrusion detection and automated IP blocking for failed login attempts, and regularly update your NAS firmware to patch security vulnerabilities. Consider implementing client-side encryption for sensitive documents before they reach your NAS for an additional security layer.

Future-Proofing Your Digital Life with NAS
Setting up an expandable NAS system represents a significant step toward taking control of your digital life. By creating a centralized storage solution that grows with your needs, you’ve established a foundation for efficient data management that will serve you well into the future. The ability to expand storage capacity, stream media seamlessly, and maintain robust security measures puts you firmly in control of your digital assets. While the initial setup process may seem complex, the long-term benefits far outweigh the learning curve. Remember that you can start with a basic configuration and gradually enhance your system as your needs evolve. Whether you’re safeguarding precious family memories, building an extensive media library, or securing critical documents, your NAS system provides the flexibility and scalability to accommodate your growing digital footprint. Take the first step by implementing a modest setup, then expand your storage and capabilities as needed. Your future self will thank you for making this investment in organized, secure, and accessible data management.